In addition to Ulrich's excellent
Google Earth Campsites Worldwide thread and his
Google Earth Offline use thread I'd like to present a third possibility to take advantage of digital maps: OpenStreetMap offline.
For those of you who have never heard of OpenStreetMap before here's a short intro: while Google Maps and Google Earth are certainly terrific and free to use they're not free. Google has rather strict terms of use, e.g. that one is only allowed to use it within a web browser. The OSM project aims at mapping the entire world and create a free to use map for everybody. It's sort of like Wikipedia: everybody can contribute. The maps are already great and very detailed, especially in cities - take a look yourself:
OpenStreetMap
And the best part: just like Wikipedia they're absolutely free.
To use these maps offline you need to things: Navit and a map (duh).
Linux
The following instructions should be valid for all Linux distros. However, since there are new ones every day and support for others is dropped at the very same rate these instructions may or may not work. I have sucessfully installed Navit on openSUSE and Ubuntu.
1. Install Navit
You can grab prebuilt packages for openSUSE and Ubuntu. For openSUSE go to
Software.openSUSE.org and grab the proper RPM. For Ubuntu follow
these instructions. All other distributions: look for prebuilt packages (for example on rpmseek.net) or
build Navit from source
2. Grab Maps
Next grab the maps you need:
Unfortunately, Navit cannot handle raw OSM files and requires a conversion into its native .bin format. This task can take a while, especially on slower computers. To give you a rough estimate: my 1.6 GHz Atom Netbook has been processing the map of Europe for the past 2 hours and it doesn't look like it'll finish anytime soon. My AMD quadcore took 52 minutes to process the map of Europe.
3. Convert maps
To convert simply type:
bzcat /path/to/europe.osm.bz2 | maptool europe.bin
This will convert the compressed OSM file and put a europe.bin file to your current directory. I recommend using ~/Maps for converted maps. Once you've started maptool go grab a coffee. Or two. And continue with the next step.
Note: for some weird reason the openSUSE RPM named this tool osm2navit instead of maptool
4. Configure Navit
Navit creates a ~/.navit directory on first start but fails to copy the include its own navit.xml config file.
openSUSE: cp /usr/share/navit/navit.xml ~./navit/
Ubuntu: cp /usr/navit/navit.xml ~/.navit/
Built from source: same directory as navit binary, no need to copy it
All other distros: find / -name "navit.xml" then copy accordingly
Open the newly copied file and modify the following settings:
Code:
<!-- If you dont want to use the sample map, either set enabled="no" in the next line or remove the xml file from the maps directory -->
<mapset enabled="no">
   <xi:include href="$NAVIT_SHAREDIR/maps/*.xml"/>
</mapset>
Code:
<!-- Mapset template for openstreetmaps -->
<mapset enabled="yes">
 <map type="binfile" enabled="yes" data="/path/to/your/converted/map.bin"/>
</mapset>
5. Pick a user interface
Navit offers two different user interfaces (GUI). For netbooks and devices with small screens I would recommend
internal. For devices with larger screens you can also use
gtk. By default navit starts with
internal
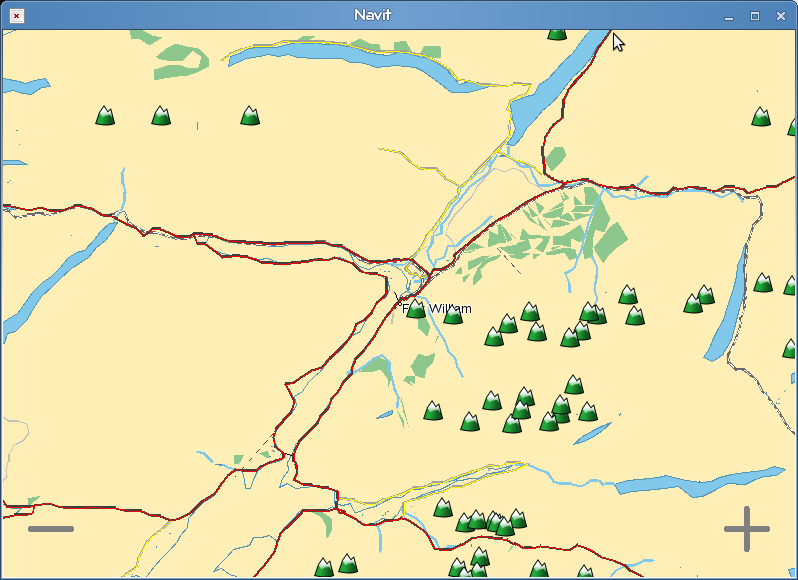
Internal:

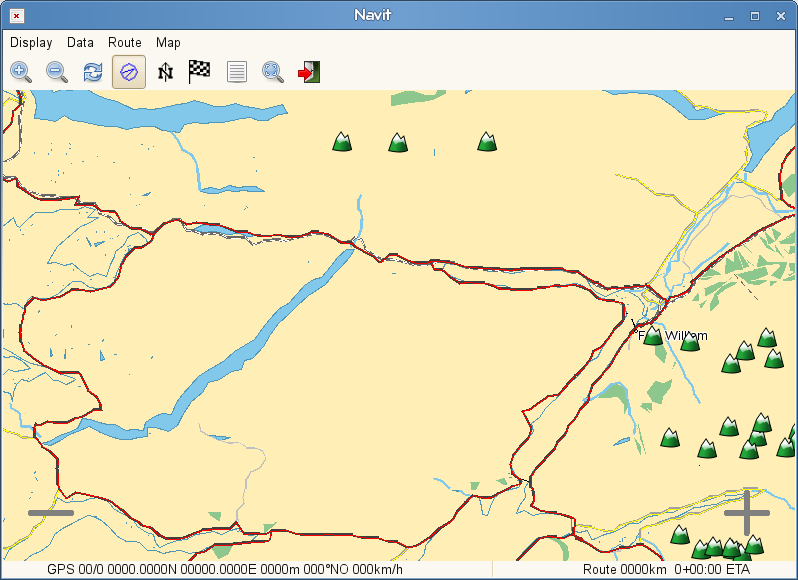
GTK:

To configure the GUI:
Code:
<gui type="gtk" enabled="yes/no" menubar="1" toolbar="1" statusbar="1"/>
<!-- In case of the internal GUI, you can even influence the size of the text and of the icons in the toolbar and the viewport. Here's an example for a freerunner: -->
<!-- <gui type="internal" font_size="350" icon_xs="32" icon_s="96" icon_l="96"/> -->
<gui type="internal" enabled="yes/no"><
Don't hesitate to ask if you have questions.