Sorry guys, long time no updates...

While I'm working I don't have the time to go get the camera, etc., so mostly I take pictures with my phone, if I take pictures at all

But I promise I'll make some HQ pics when tinkering with my bike later on (and I will be, because the carb needs some more adjusting). If you have any specific spots you want to see please feel free to ask, once I'm taking pictures I will show you what you want to see.
I ended up buying:
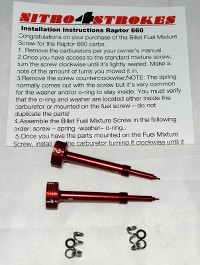
Raptor 660 billet aluminum fuel mixture screws
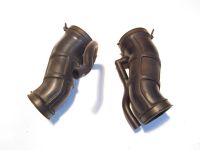
Raptor 660 air ducts
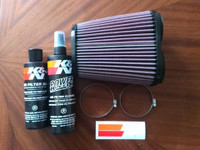
RU-4710 K&N air filter and filter oil + cleaner
Outwears pre-filter (air filter cover)
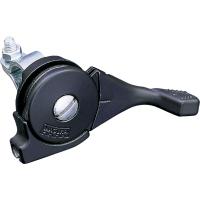
Honda CR throttle handle assembly
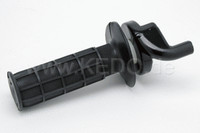
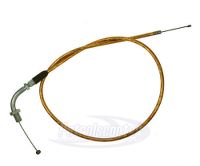
Honda CR throttle cable
Some "pit bike" throttle cable that had a 90 degree bend
Mikuni pilot jets #22.5 and 27.5 (#25 was already installed)
Mikuni main jets from #137.5 to #150 (#165 and #170 was installed)
Mikuni small main jet #80 for choke (#95 was installed)
Magura choke lever
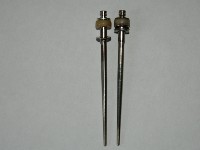
Jet needles were already some after market performance ones, so I was happy I "saved" on them

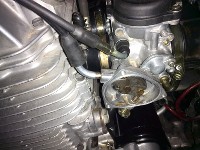
Moving on to the "work" station:
the rubber cylinder head - carb boots were slightly modified, some excess rubber was cut out so that the carbs could go deeper in the boots. I had cut approximately 1-1.5mm, the "rim" that keeps the sealing collars (I guess that's what they are called) from moving too far to the carb side. Not in the pictures, but I'll make some pics later on...
The carb itself was ground down in the places that touched the intake boots, also to make it slide deeper in the boots.
Carb was re-jetted to Vando's specs (#25 pilots, #145 mains and needles on the second (I think) groove with thick plastic shims, which I later changed to #22.5 pilots and #142.5 mains, which are probably too lean... "to be continued").
Throttle handle, cable, 90 degree bend (from another cable I bought) were installed.
Choke lever and cable installed (cable was re-used, the one I took the 90deg bend off). The choke cable was shortened, and a cable tip that came with the Magura choke lever was soldered on.
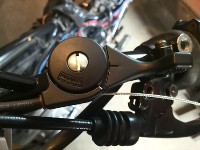
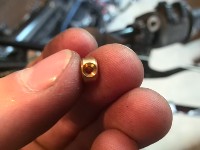
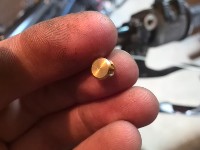
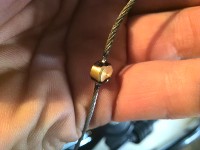
Both carb diaphragm breather pipes were cut, shortened to approximately 1cm, to make more room for the breather hoses so they could clear the frame.
(picture with uncut pipes)

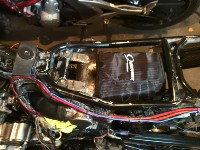
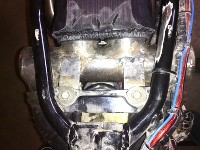
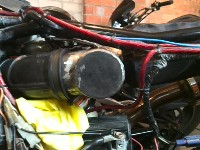
Then came the hard(er) part: how to join the Raptor 660 air filter-carb boots to the air filter? It had to be something simple, yet durable and small enough, so that the air filter is close enough to the carb that it clears the frame tubes. I got the joining part made from a 60mm metal pipe (yeah, I know, not too light, but heck, maybe in the future I'll get it made from aluminum).
It came out great, with two attachments to the original air filter box mounts (the third had to be cut off the frame). It also had a crankcase breather pipe, so my headaches of "where to connect it!?" were finished. And the air filter won't wobble up and down under the seat...

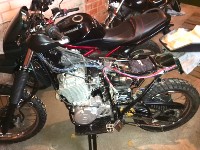

Okay, now I need to cover the air filter and mount the battery somewhere. But where? I thought I might need to make a special mount for the battery, then make the covers from tin metal (very thin sheet metal). But that's a lot of unnecessary work... And a heavy custom part too.
So I took my old air filter box, and started cutting it

I butchered it to the point where I had probably less than 60% of it left.
So I saved the battery mount, flasher and fuse mounts, most of the mudguard surface. I also had it clearing the air filter and the metal pipe connector, so all good.
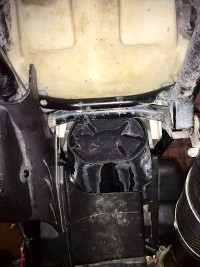
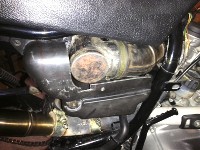
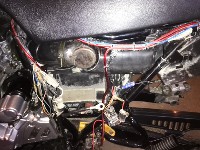
Now I need to fit the seat - I cut it up too.
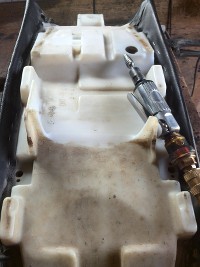
And now I must protect the air filter from all the crap the rear wheel will be throwing at it. So I made a small air filter protector from two bits of tin metal (thin sheet metal). Pop-riveted those two parts together and to the original (cut up) air filter box. Also used a piece of plastic sheet, like 3mm thick, to make a cover that doesn't allow water or mud running under the seat, on the sheet metal "lip", and under the air filter. Looks good

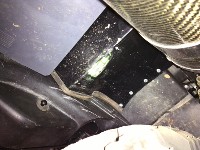
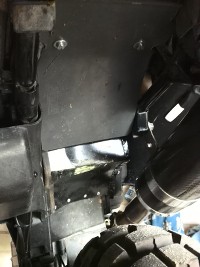
I'm off to the test drive! Whee!

I'm flying towards the forest, off the tarmac to the gravel road - hello potholes! DRRR! And the rear wheel touches the tin metal air filter guard

it bent it a little. (see the previous picture - yeah, it's bent a little)
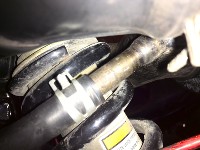
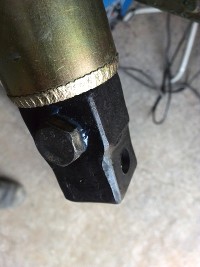
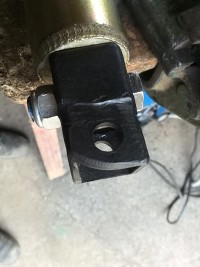
Next day: I straightened it out, re-painted, and had to get the "heckhöherlegung" riser-thingy made. That's what I came up with after welding it from two pieces of scrap metal. The only thing I had to do was to cut off the shock's "spacers" (that tube where the top shock's bolt goes through).
25mm from a hole center to a hole center, gave around 5cm of lift in the back, now I can jump my bike and not worry about bending anything

This carb woke up a new animal, a beast, inside the bike. It pulls very very well, has MUCH more power, although it still needs more adjusting of the carb, which I can't do right away as I have some other more important work to do.
But still, it rides insanely well, and I do not regret doing his modification, even when it cost me around 400€ to complete.
Many thanks to Vando (bacardi23) for sharing the experience in the same mod
